There’s no denying the positive impact of beautiful flowers. Not only do they instantly elevate an interior, but an elegant bloom can lift our spirits and make us feel happier too. This isn’t limited to their visual appeal, but the very act of arranging them can be a mindful, meditative task that helps to create focus and soothe the senses. Not to mention it allows us to practise being playful and creative, building a beautiful bouquet with our very own hands. Is there anything more satisfying than seeing your own creation come to life? To help inspire your next floral display, we’re sharing a few of our favourite ways to arrange flowers.
The art of arranging flowers
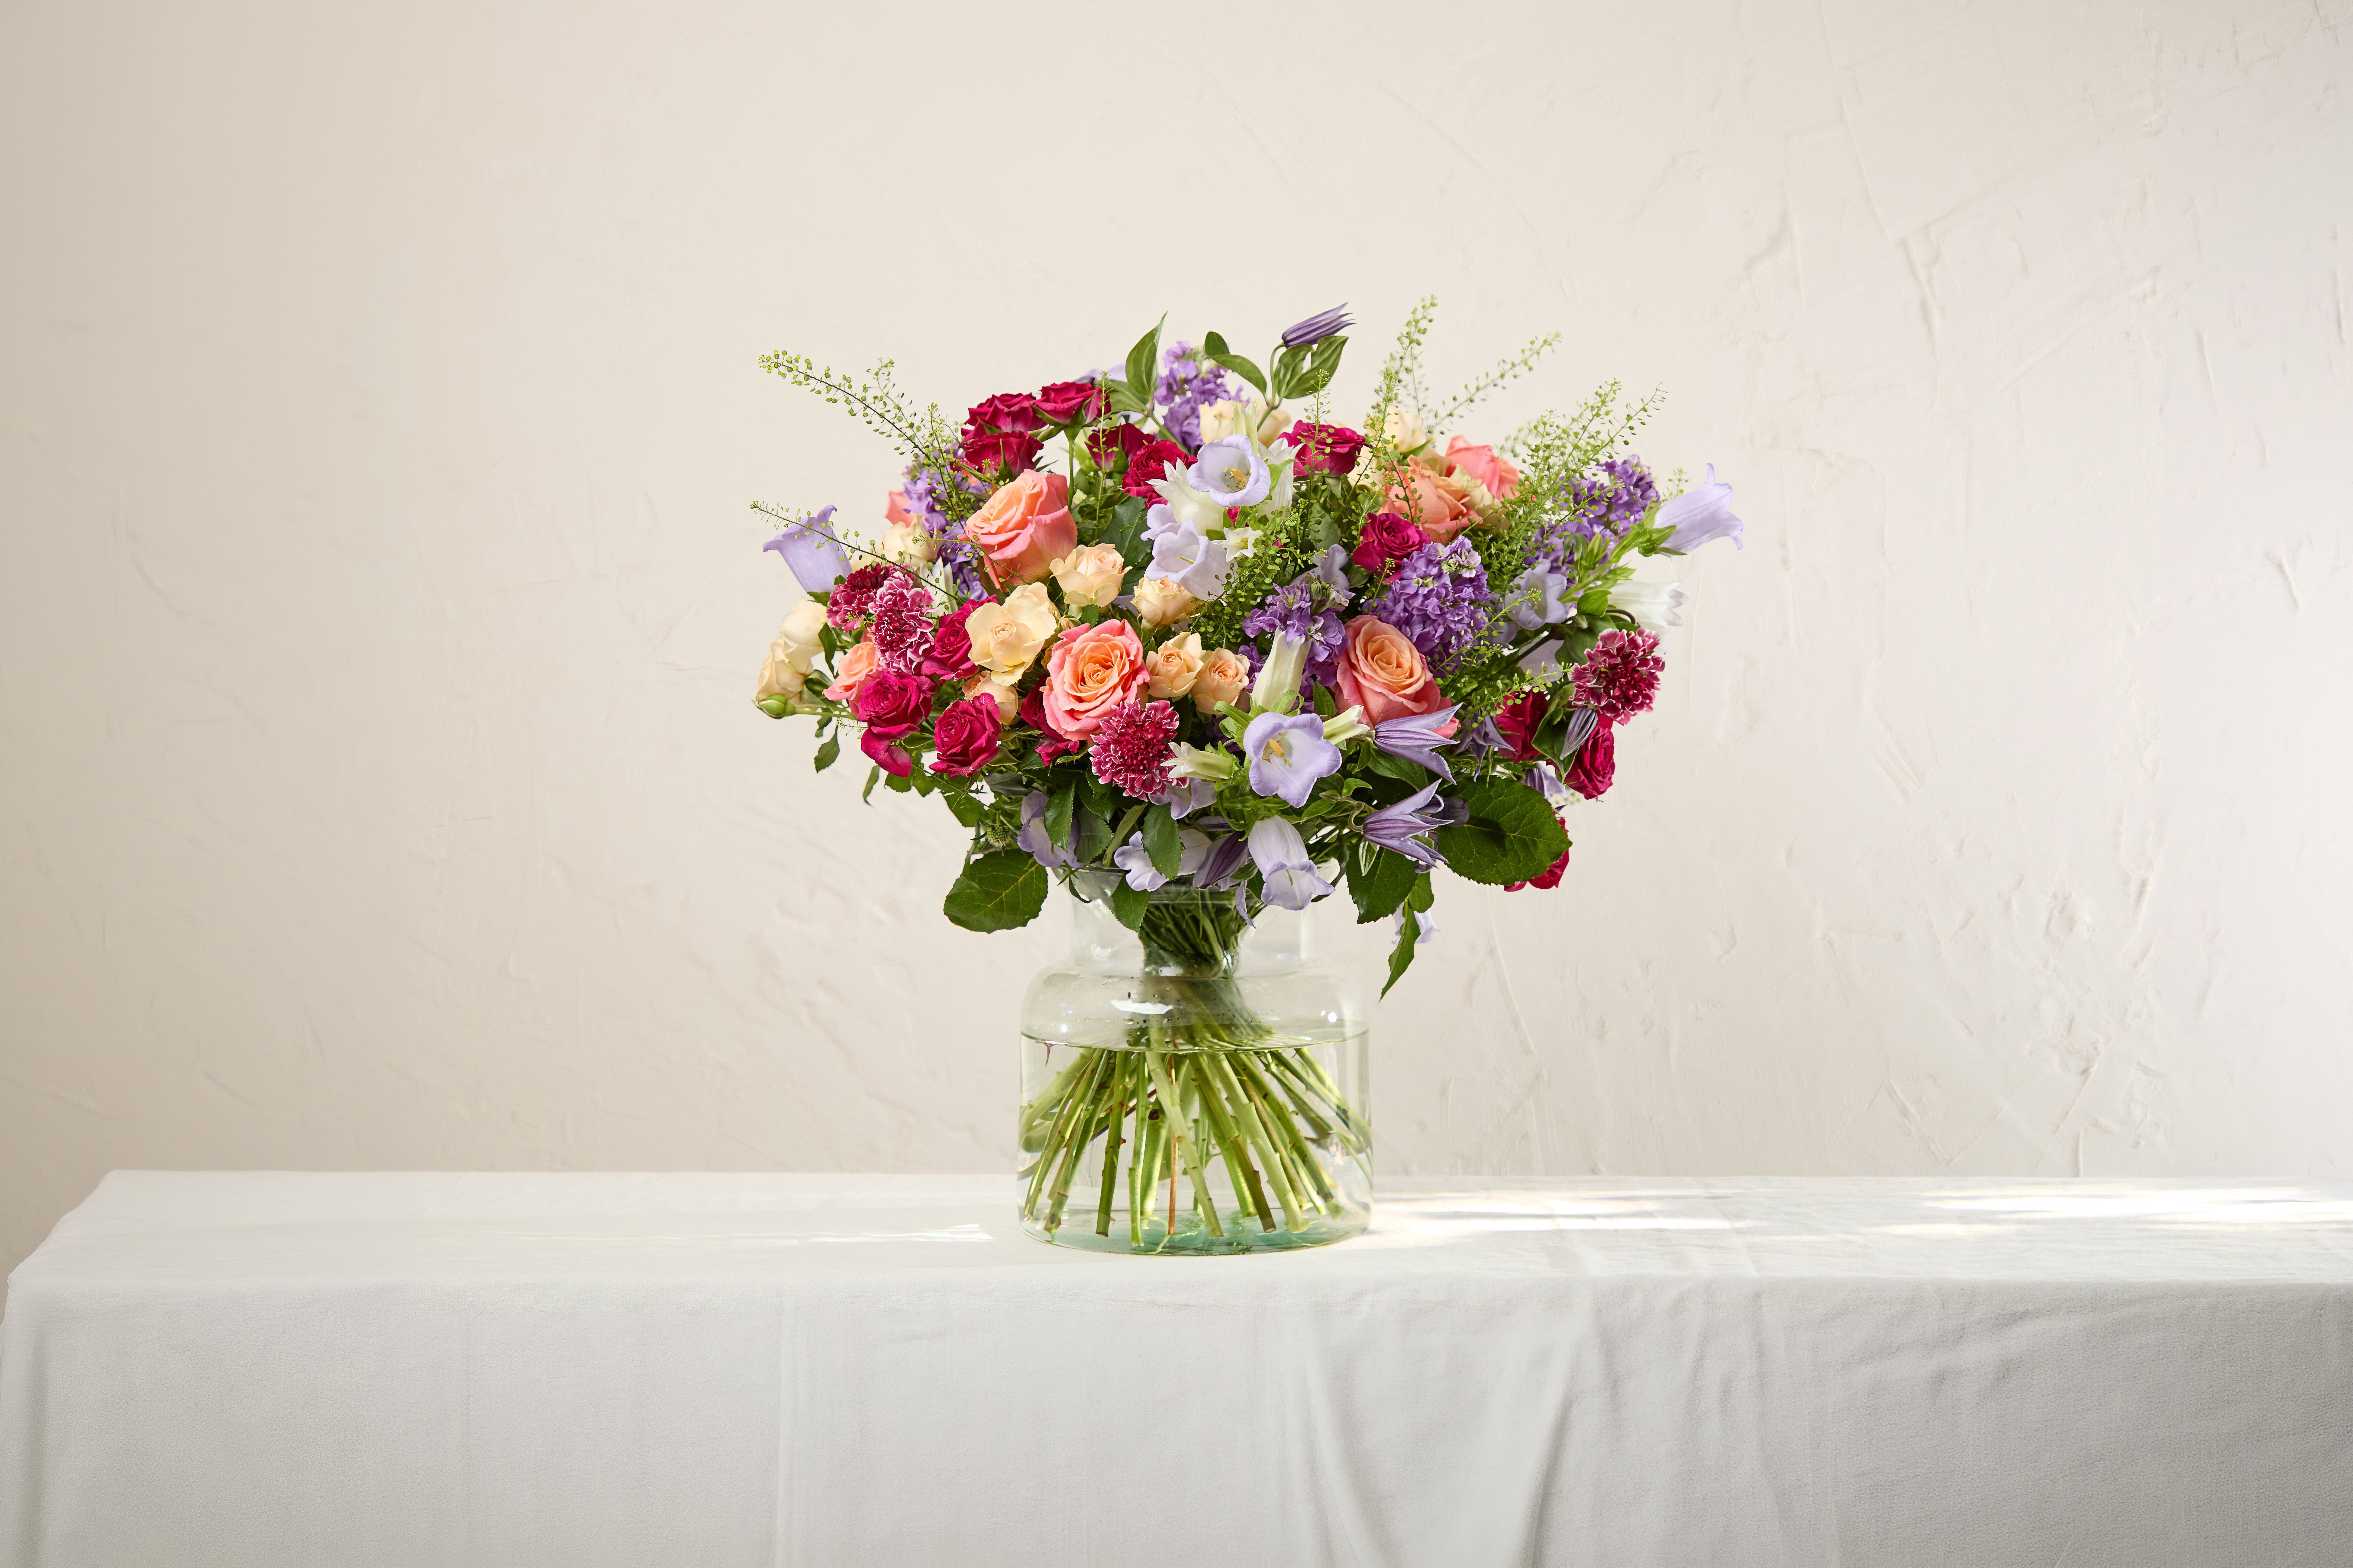
How to arrange a classic bouquet
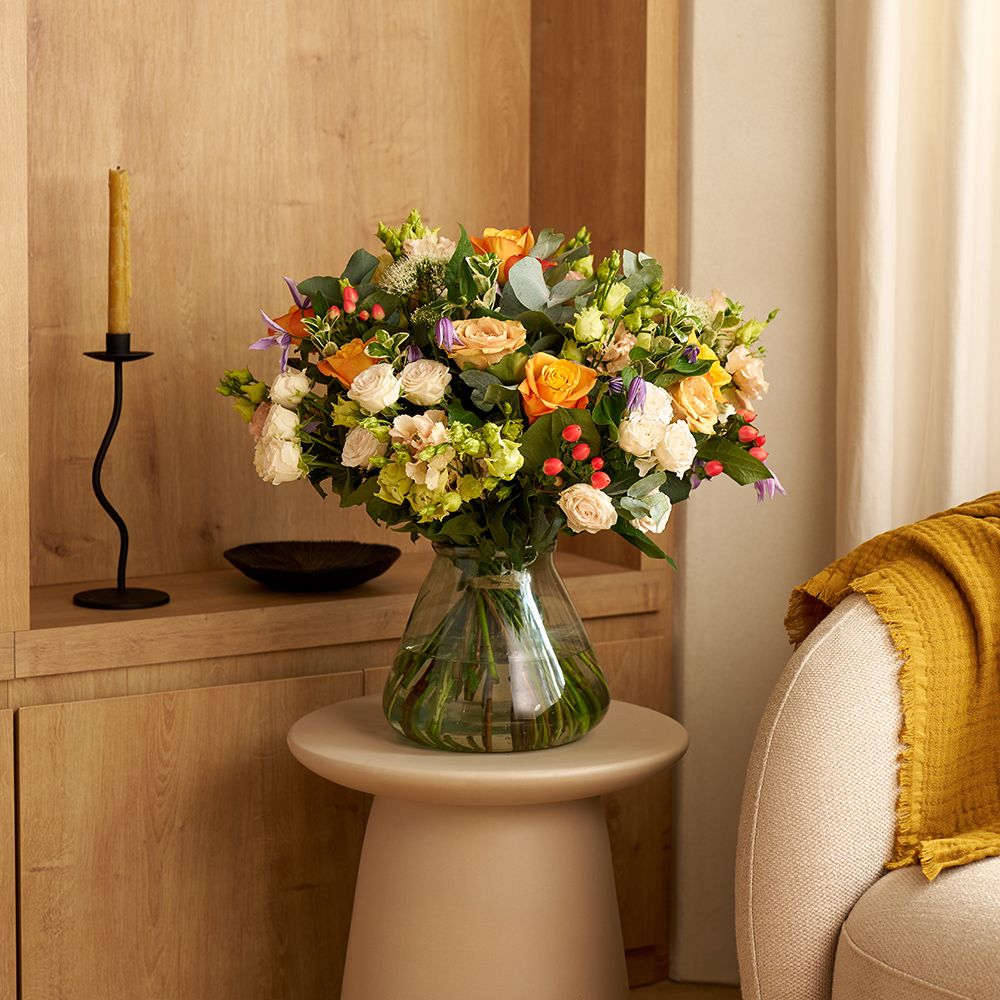
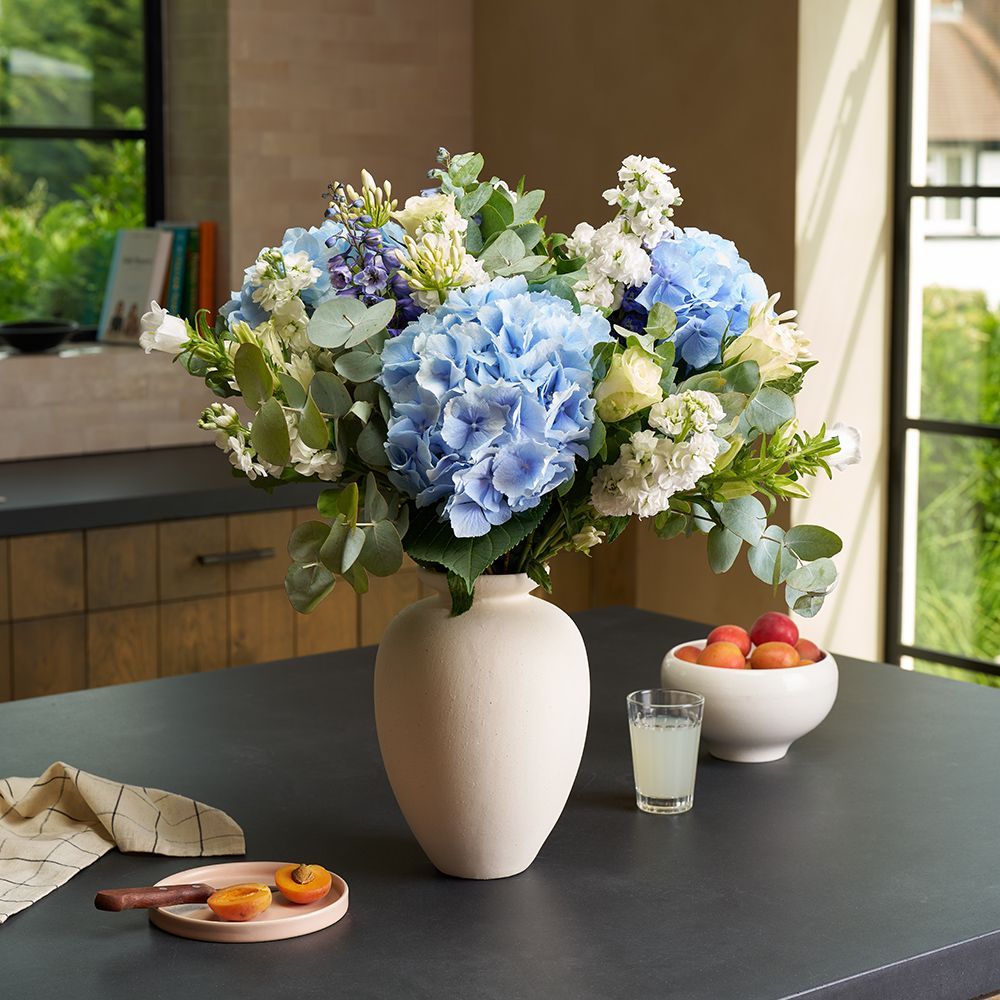
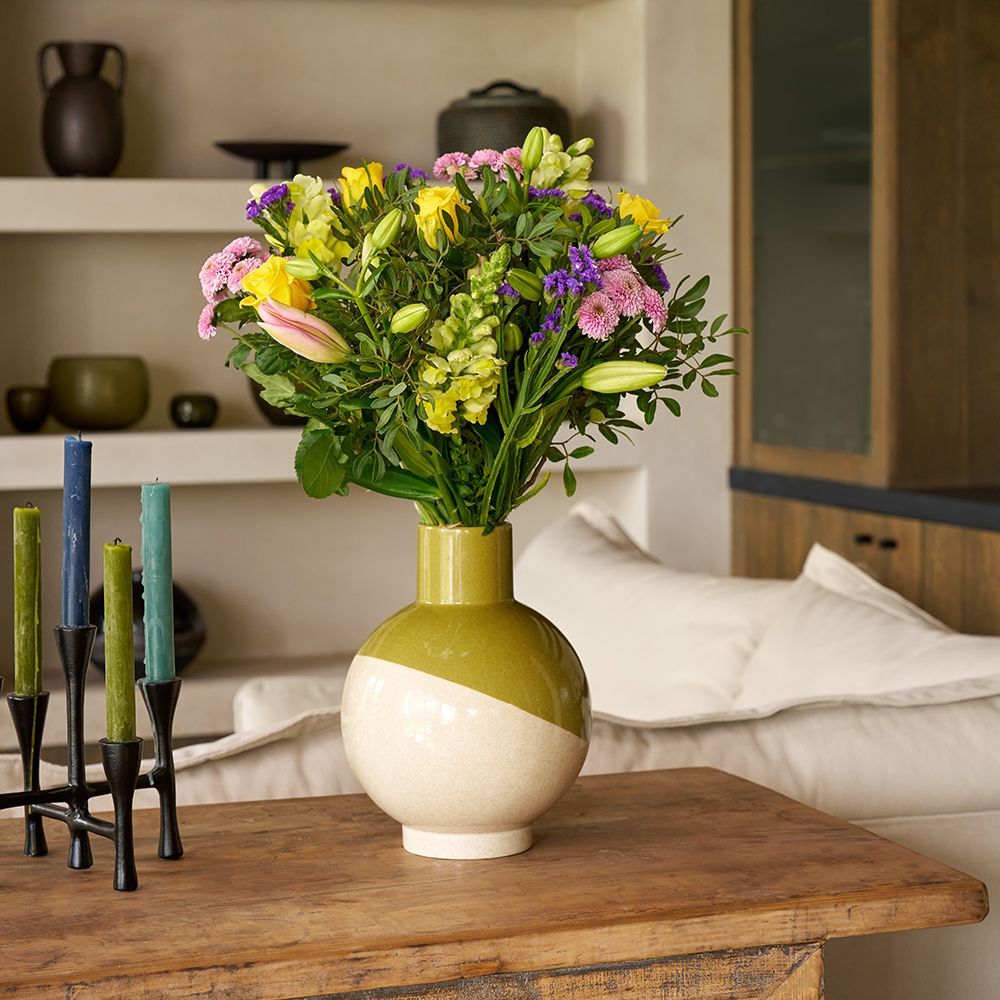
Let’s begin with a traditional display of flowers arranged together in an elegant bouquet. With the stems twisted at the base, and florals and foliage layered together in a circular arrangement, this style of flower arranging creates a full and striking bouquet perfect for table centrepieces, or for displaying on a side table or console table. To bring your creation to life, simply follow these five steps:
1. Start by snipping off the stems of your flowers at a 45-degree angle. This helps them to drink water more easily, which will in turn ensure they stay fresher for longer. Remove any lower foliage that will sit below the water line.
2. Select a clean vase and fill it with lukewarm water. If you have a sachet of flower food, add it now.
3. Start building your display. Begin with the foliage first, criss-crossing the stems in a triangle effect to create a base for your arrangement.
4. Add the focal flowers next – these are the bigger, statement blooms in your selection, such as sunflowers, roses, lilies or hydrangeas. Add an odd number of flowers to create a more natural display, using different heights to create interest and structure.
5. Finally, add your filler flowers. These are the extra blooms that aren’t necessarily the showstoppers, but are no less lovely – statice, asters, solidago and hypericum are classic examples. These filler flowers do exactly what the name suggests: fill the gaps or empty spaces to create a full and beautiful bouquet.
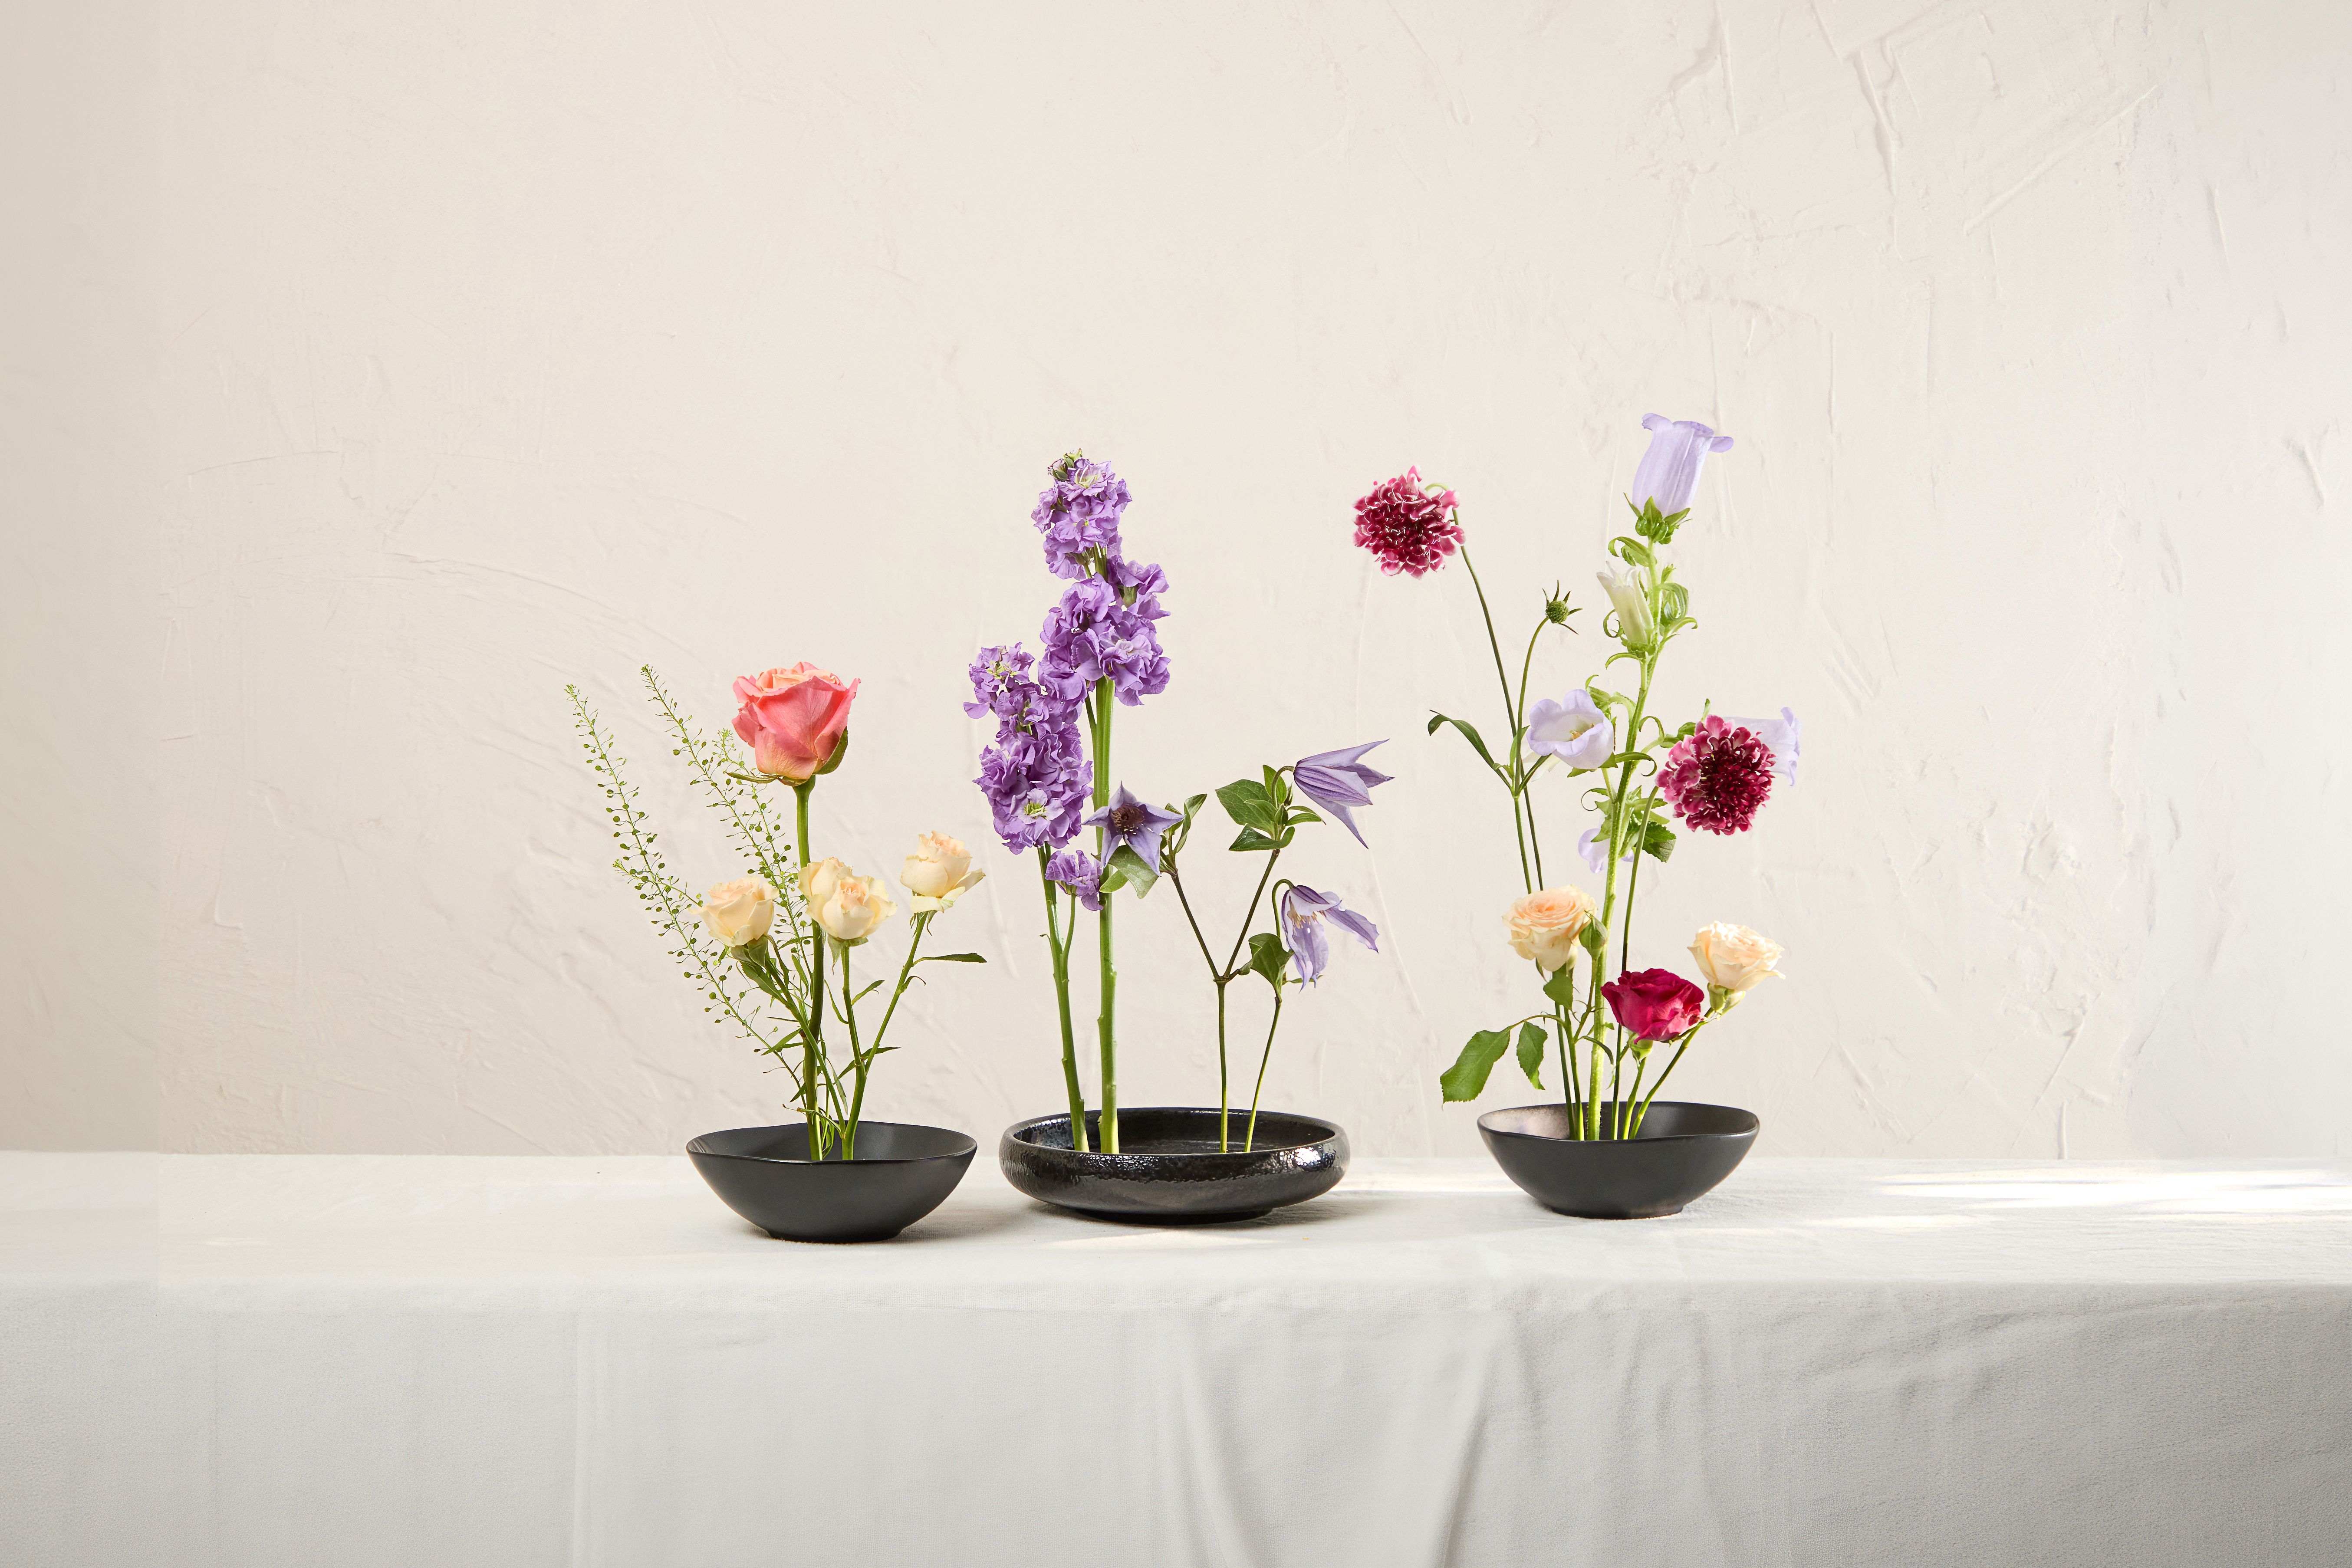
How to create a flower frog display
The Japanese art of ‘ikebana’ – which translates to giving life to flowers – is a type of flower arranging that uses a kenzan, commonly known as a flower frog, to display stems in an upright arrangement. These little disks have brass pins that support the stems of the flower, resulting in a sculptural display that allows each bloom to shine both individually and as a collective. It also means that one larger arrangement can be spread evenly across a table using different sized frogs, making the most of a single bouquet. Watch our video on Instagram to see how we brought our display to life, and follow these tips to create your own:
1. Choose a vessel for your flower frog to sit in. It could be a shallow bowl, plate or decorative dish, or a larger plant pot if you prefer the flower frog to be hidden.
2. Fill your chosen vessel with enough cold water to cover the top of the brass pins on the flower frog – this will give your flowers something to drink, and help to keep your display looking fresh for as long as possible.
3. Trim the ends of your flower stems in a straight line to help them stand up straight. Remember, different heights are key to creating the signature sculptural silhouette of a flower frog display, so you don’t need your stems to all be the same size – in fact, we’d encourage the opposite!
4. Start building! You can arrange as you please, but it’s a good idea to start from the outside and work your way into the centre. If you have foliage or branches, you might want to begin with these, as they’re the more sculptural stems in your selection. However, if you’re just using flowers, we’d recommend beginning with your focal blooms and working your display from there.
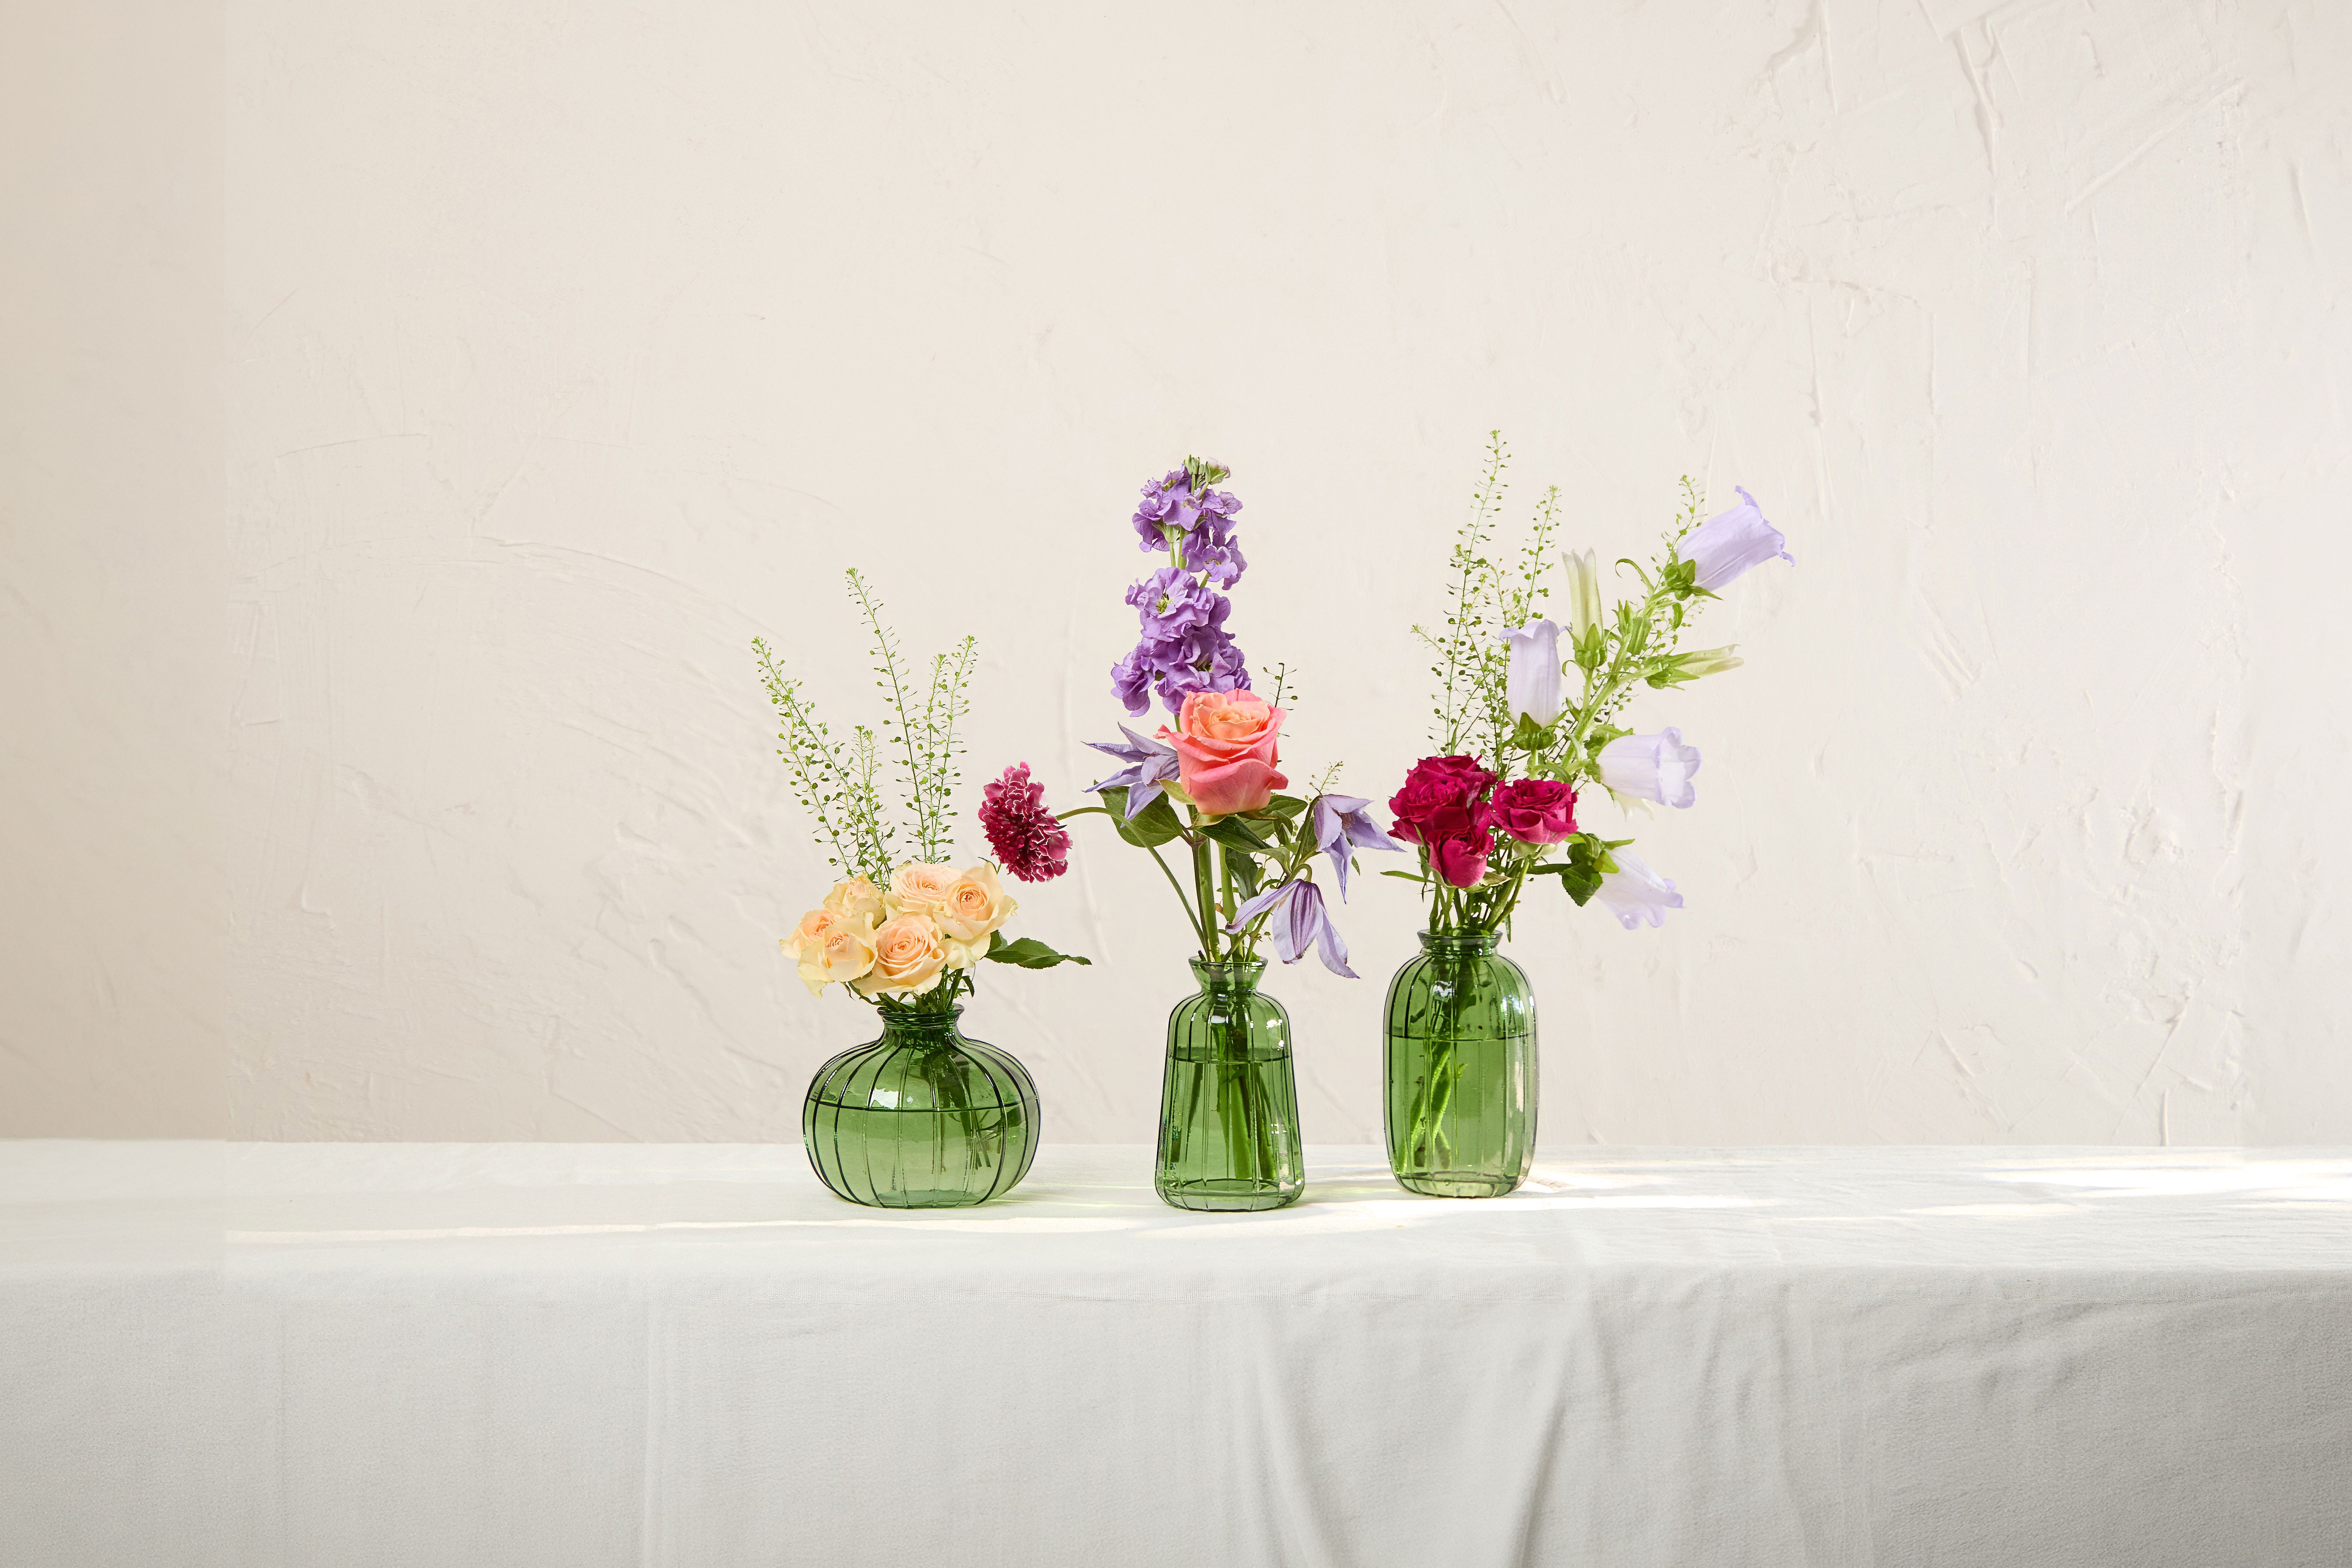
How to create a bud vase arrangement
Bud vases are an elegant way to arrange flowers in a minimalist, relaxed display. Divided into smaller posies and arranged in glass vessels of different heights, your bouquet can be spread across a surface to create a linear arrangement, or enjoyed in different rooms throughout your home. This type of flower arranging is a great option for dining tables, as the low height doesn’t obstruct eyelines, allowing for easier conversation. It also means there’s more space for glassware, crockery and, most importantly, food!
You can also use this type of flower arranging to make the most of a fuller bouquet that you’ve had in your home for a while. As some flowers expire more quickly than others, bud vases are a clever way to continue enjoying the blooms that still have plenty of life left in them. Here's how:
1. Start by selecting your vessels. We recommend choosing vases of different heights, as this creates a more visually appealing display, but keep the texture the same to create a cohesive look – glass or ceramic, but not both.
2. Snip your stems at a 45-degree angle, using your vase to measure the correct height. Your bigger, showier stems should be shorter so they sit lower down at the front of the arrangement, and foliage or accent blooms should be to be taller so they can create a backdrop.
3. Start to build your arrangements. The trick is to avoid cramming too many flowers into one vase. We recommend one bigger, showier bloom, such as a rose or dahlia, one secondary flower, and one piece of foliage. Try to arrange in odd numbers, as this is more visually appealing.
4. If you’re decorating a table, you can either dot your bud vases evenly across the surface, or create clusters – try grouping three together, and then including a few single vases throughout to create depth and interest. You can also use your bud vase displays to decorate other areas of your home – place them on a bookcase to add interest to your shelves, on a mantelpiece between candles and figurines, or on a window ledge to add a little extra colour and charm to your view.
Explore our flowers
By Ellen Millard